Have you heard of Julep? Julep is a beauty subscription service with an emphasis on nails but they also have makeup, tools and skincare. I gave this subscription a try a few months ago and since I’ve been hooked! Julep offers polish colors that range from classic to unique. The polishes have oxygen technology for fast-drying and long-lasting results, no harmful toxins and they are not tested on animals. Fun fact: all of the polish colors are named after cool women!
If you are not a subscriber, you can get a welcome box for free, just pay $2.99 for shipping. If you want to continue, the cost is $24.99/month, but if you order a three month subscription, the price drops down to $19.99/month and shipping is free. Subscribers also receive 20% off and earn points towards product rewards.
Each box contains $40 worth of polish colors and/or products. You receive either 3 polishes, 2 polishes and a beauty product, or 2 beauty products per month. One of the things I love about this subscription is that you can customize it to your liking by picking exactly what you want by swapping out products. You also have the option to skip a month or send your box to a friend!
Here’s what I got in my box this month:
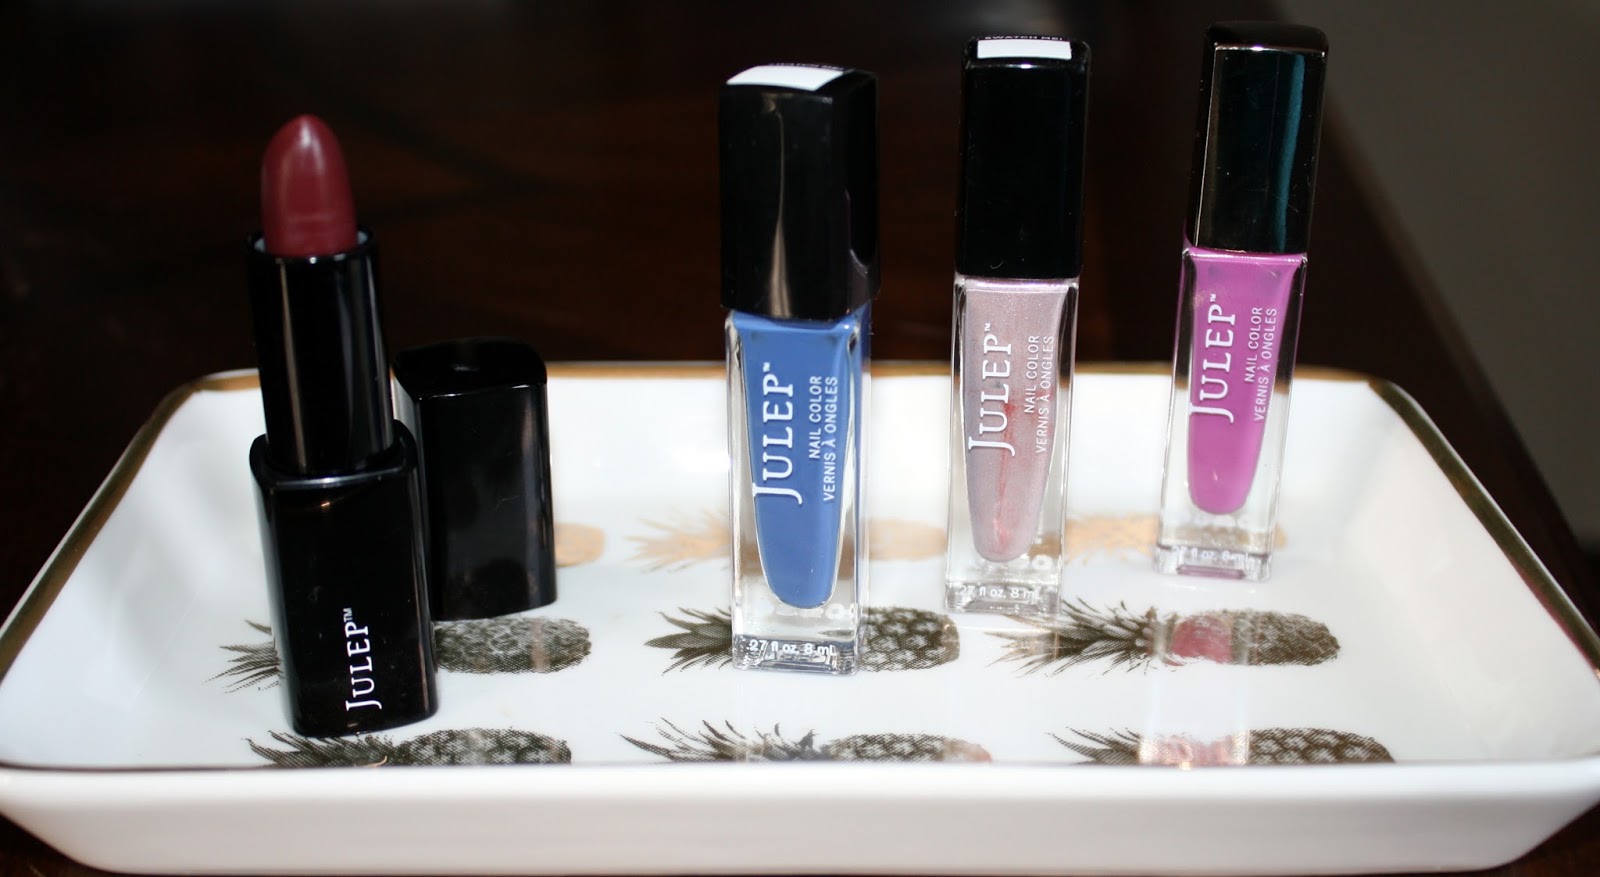
Sara – Scandinavian blue crème polish
Ellis – Pink/silver holographic polish
Julep Signature Creme – Their new signature shade is a deep orchid color and is named Julep.
This was a full-size free gift!
Light on Your Lipsfull coverage lipstick in Soirée, an Oxblood crème-
This was the first time I’ve tried Julep lipsticks and it glided on and felt weightless.
Overall, I give this service a , I received $64 worth of products this month for $20!
Want to try Julep? Get your 4-piece welcome box for free by clicking the link below!
Ombre Welcome Box
Use code: FallGirl

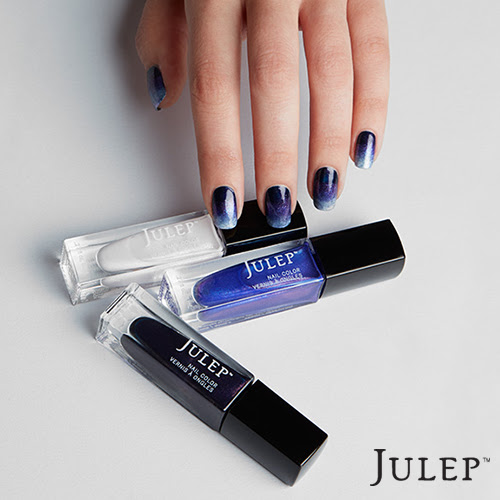
Julep has shared a new ombre nail art tutorial that uses colors from their ‘Fall Into Ombre’ Welcome Box. Ombre isn’t a new trend–we’ve been seeing it for years, on everything from clothing to nail art to hair. And yet, its popularity still isn’t fading! Why? Probably because ombre is so fun to create and so easy to DIY.
Let’s get started!
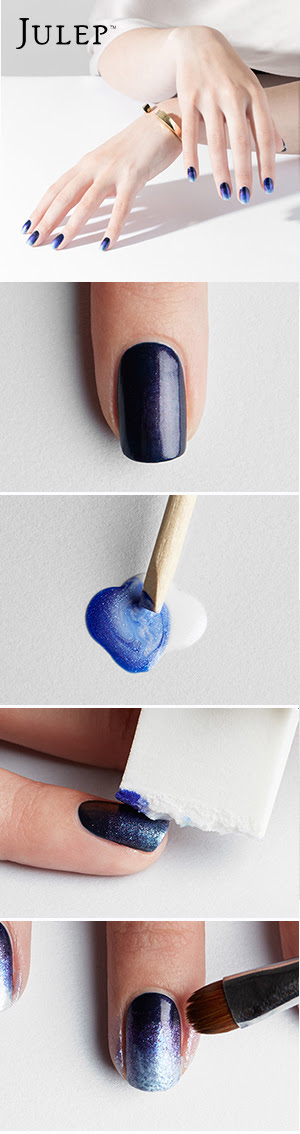
Choose three polishes that blend well together, spanning from dark to light. Not sure what to pick? You can’t go wrong with a deep, opaque color, a lighter shade of the same color, and white. Polish your nails with your darkest color. Allow them to dry.
Pour two small dollops of your medium and light colors on a smooth surface (like a piece of wax paper). The two dollops together should be about two-thirds the length of your nails. Use a toothpick or orangewood stick to swirl them together slightly so they mix in the middle, forming a gradient.
Dip the edge of a cosmetic sponge directly into your dollops of nail polish then align the sponge so that the lightest color is at the tip of your nail. Press the polish onto your nails with the sponge, dabbing and repeating until you achieve the desired effect. This doesn’t have to be precise!
Clean up the edges with a polish corrector pen or a thin brush dipped in polish remover. Finish with a top coat. Voilà!
Thank you for visiting today!
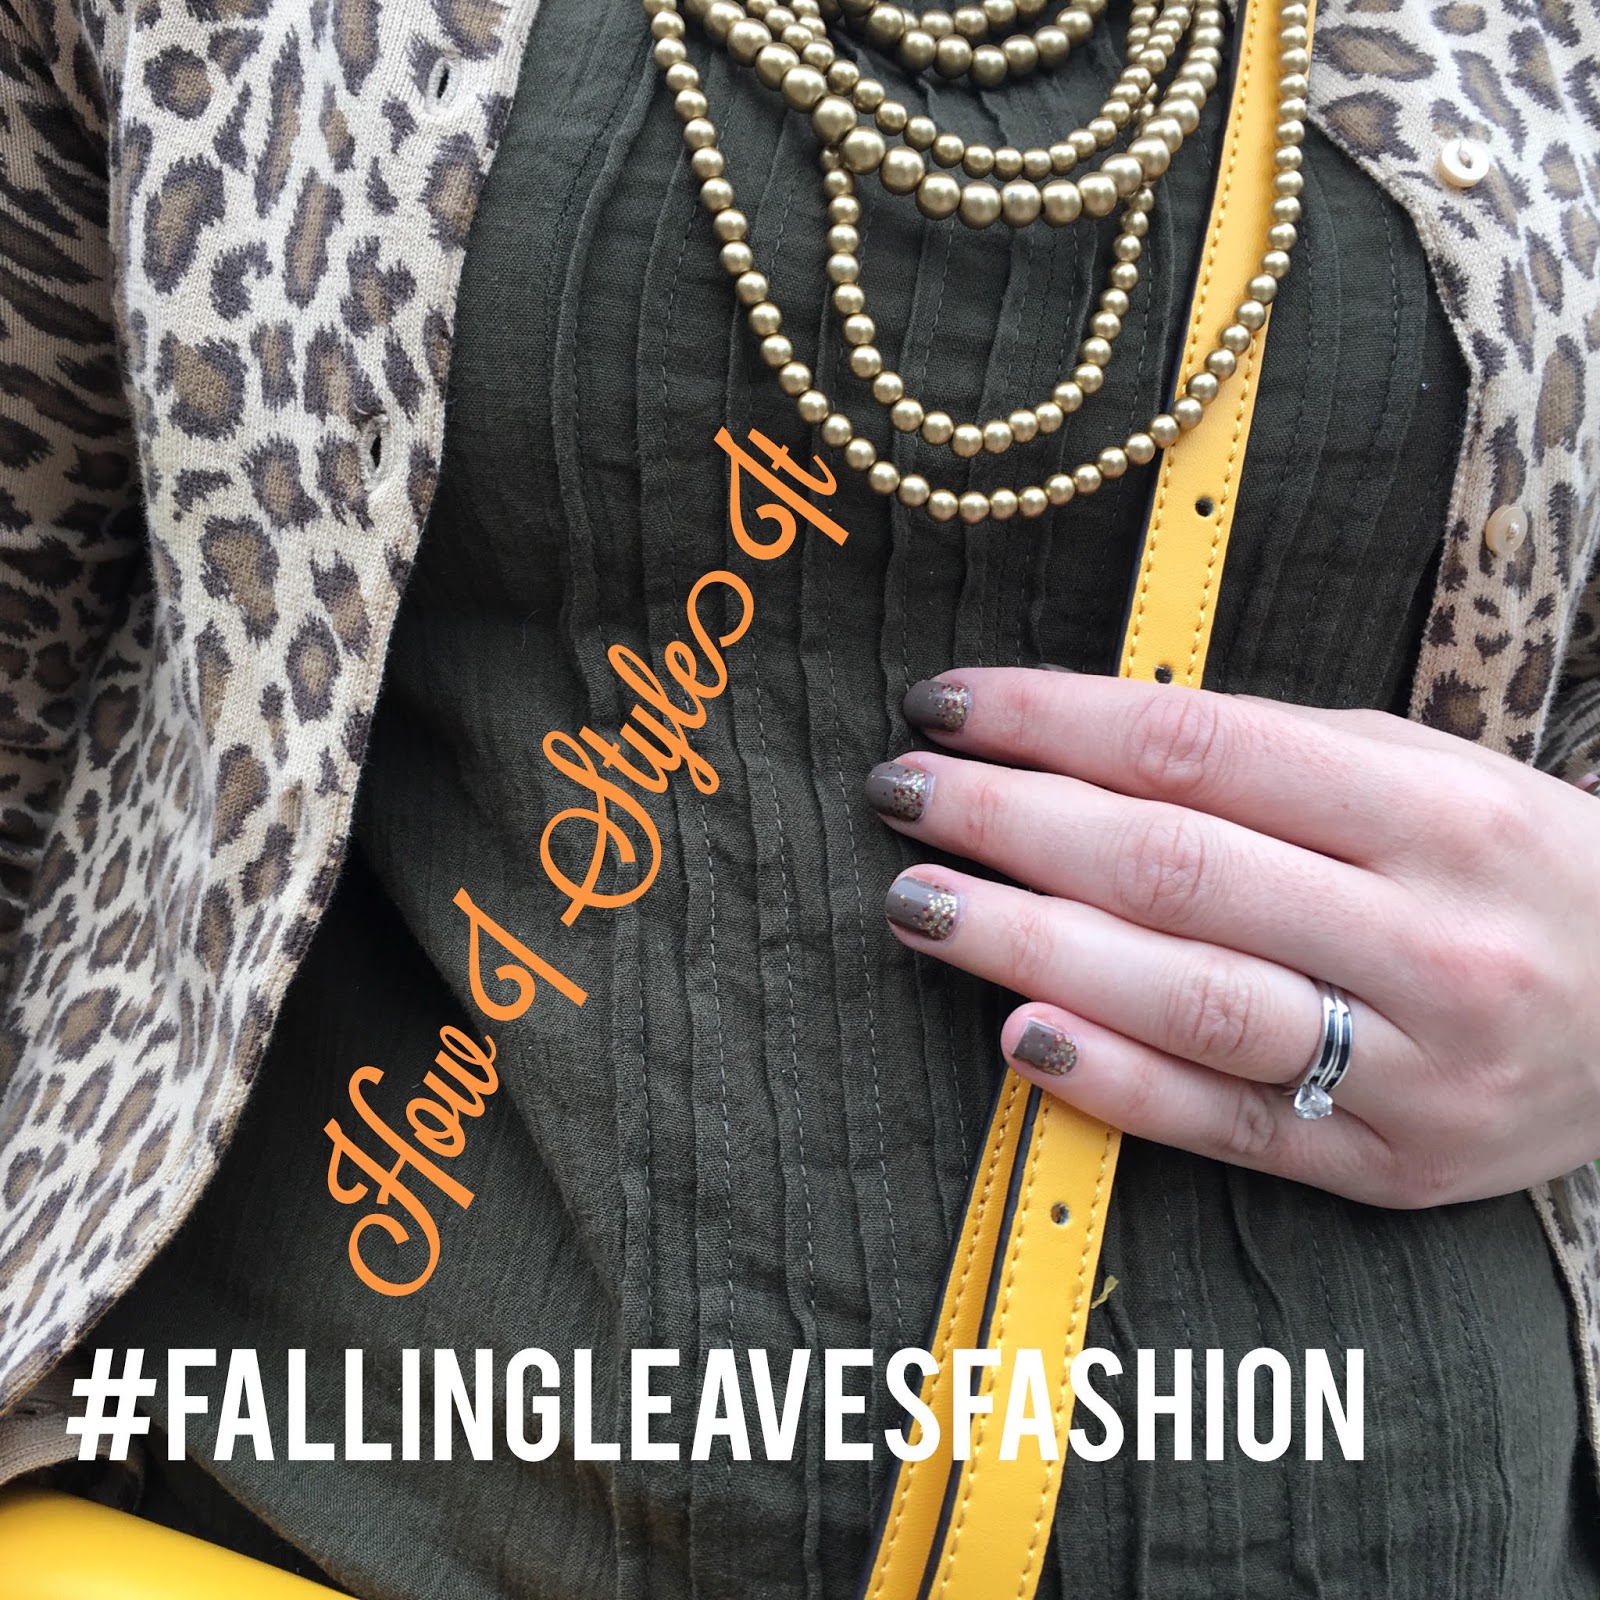
Come back tomorrow for the monthly How I Style It linkup! This month’s theme is #fallingleavesfashion
Linking up with these fabulous bloggers here.


Leave a Reply