Hi Friends! Did you have a great St. Paddy’s Day weekend? We planned to go to the parade and then go-cart races with friends Saturday morning, but we had single-digit temps, so we ended up cozying up at home. Our neighborhood had its annual St. Paddy’s Day potluck with live music on Saturday night, and it was so much fun. Now, I’m currently on vacation with my daughter for her spring break. I have been struggling with work/life balance and didn’t have a post prepared for today. So, I thought, why not share one of my most pinned posts, my tile photo coasters tutorial. This simple tutorial is quick and easy and costs less than $5 to make! I hope this will inspire you to make some coasters of your own!
Easy Photo Coaster Tutorial
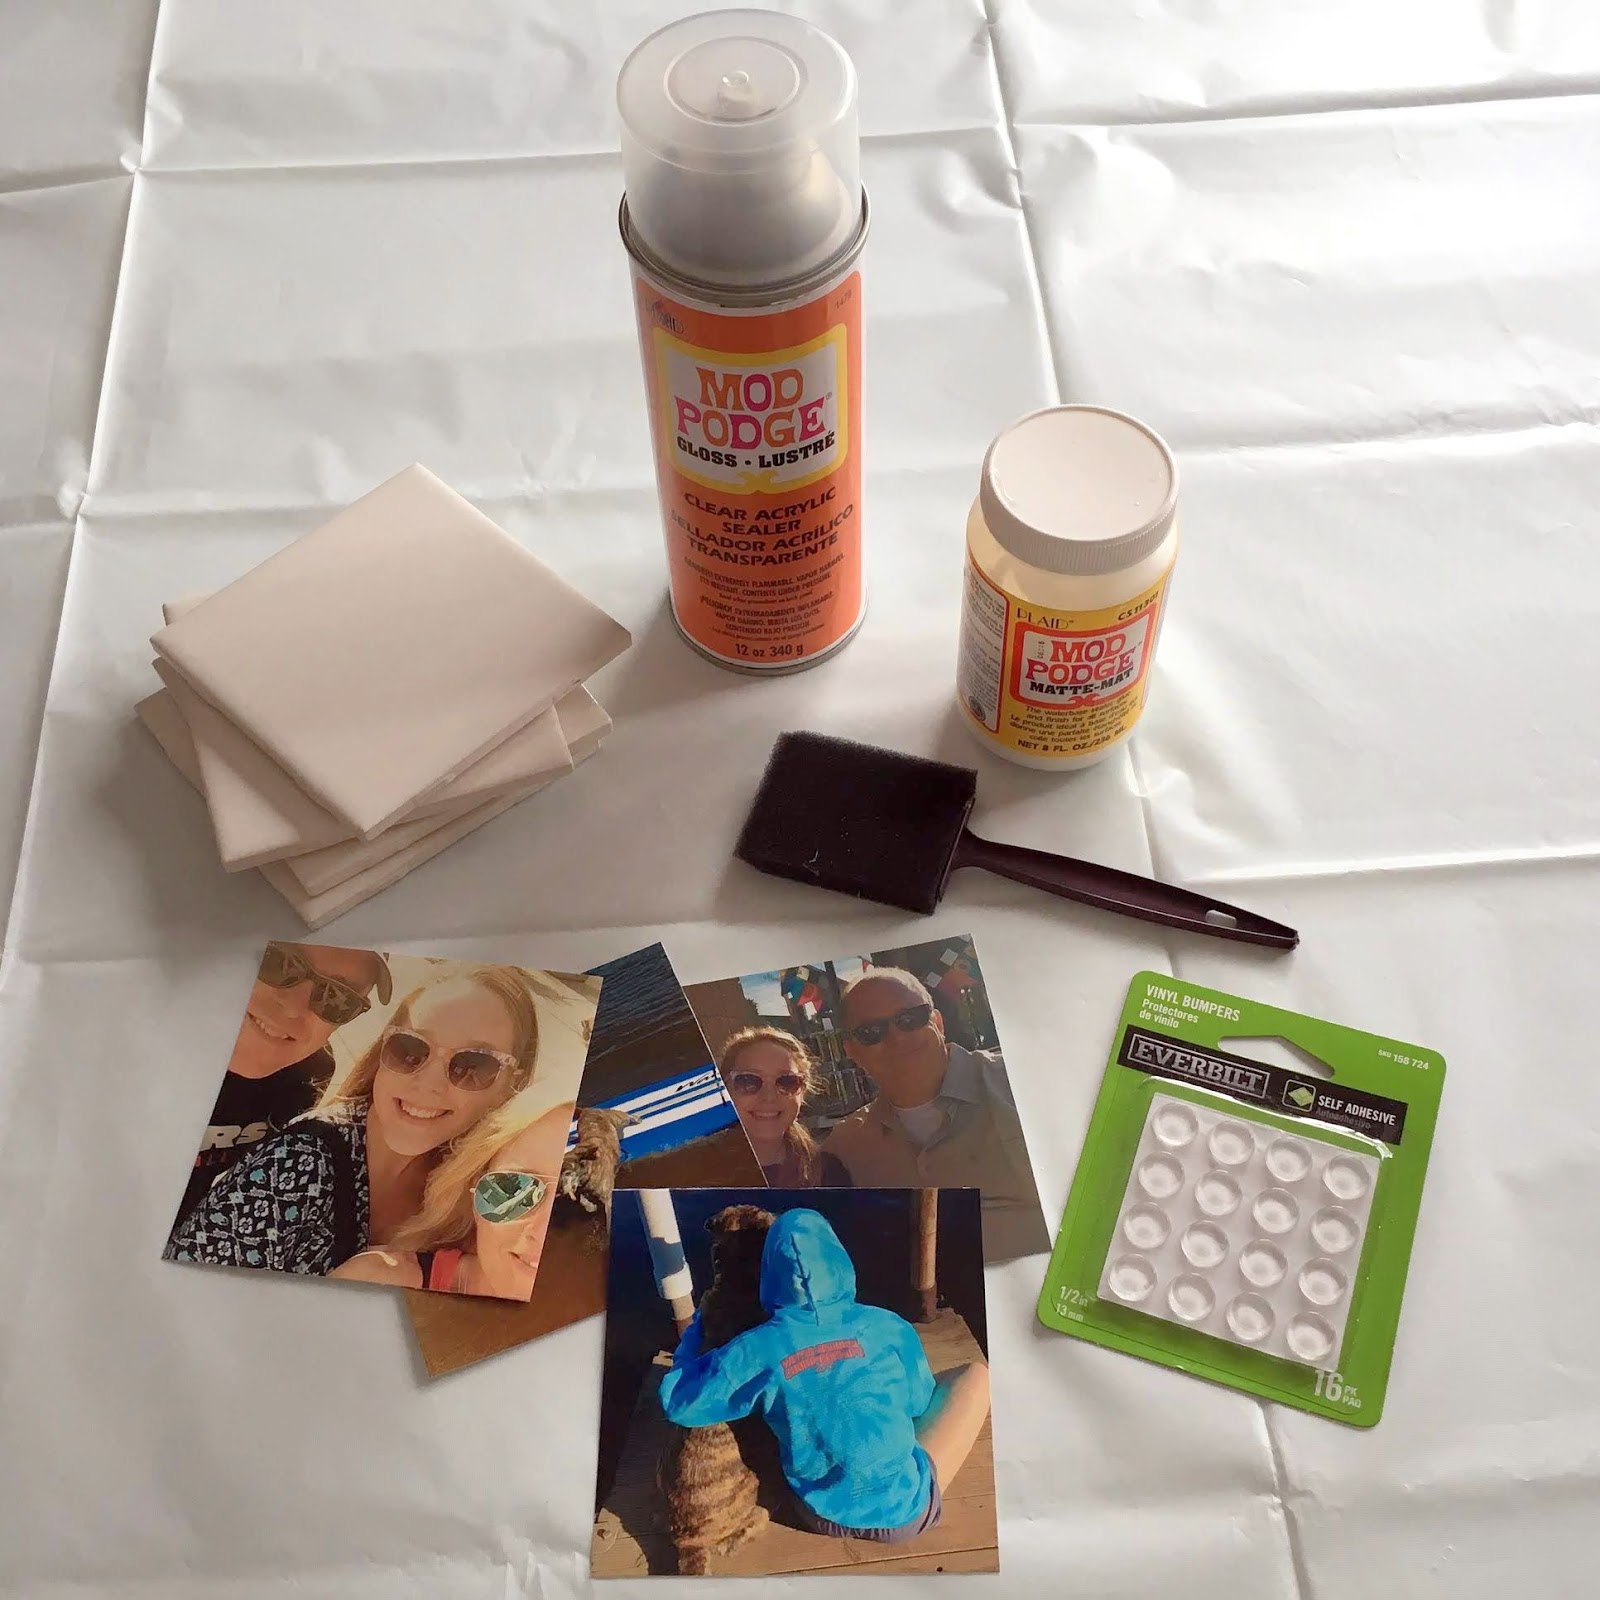
Coaster Supplies
- To make the tile photo coasters, I used 4×4 ceramic tiles. You can get these at Home Depot or Lowes for around 20 cents each.
- Decide what photos you want to use and print or cut them to size 4×4 to match the tiles.
- Foam brushes (you can get these at Michael’s Hobby Lobby, Home Depot or if there is a Dollar Tree near you, for $1).
- Mod Podge (find it at Hobby Lobby, Michael’s, Walmart, or Amazon).
- Acrylic sealer (Hobby Lobby, Michael’s, and Amazon all stock it).
- Small felt or vinyl pads (I got mine at Home Depot).
How to Make Photo Coasters
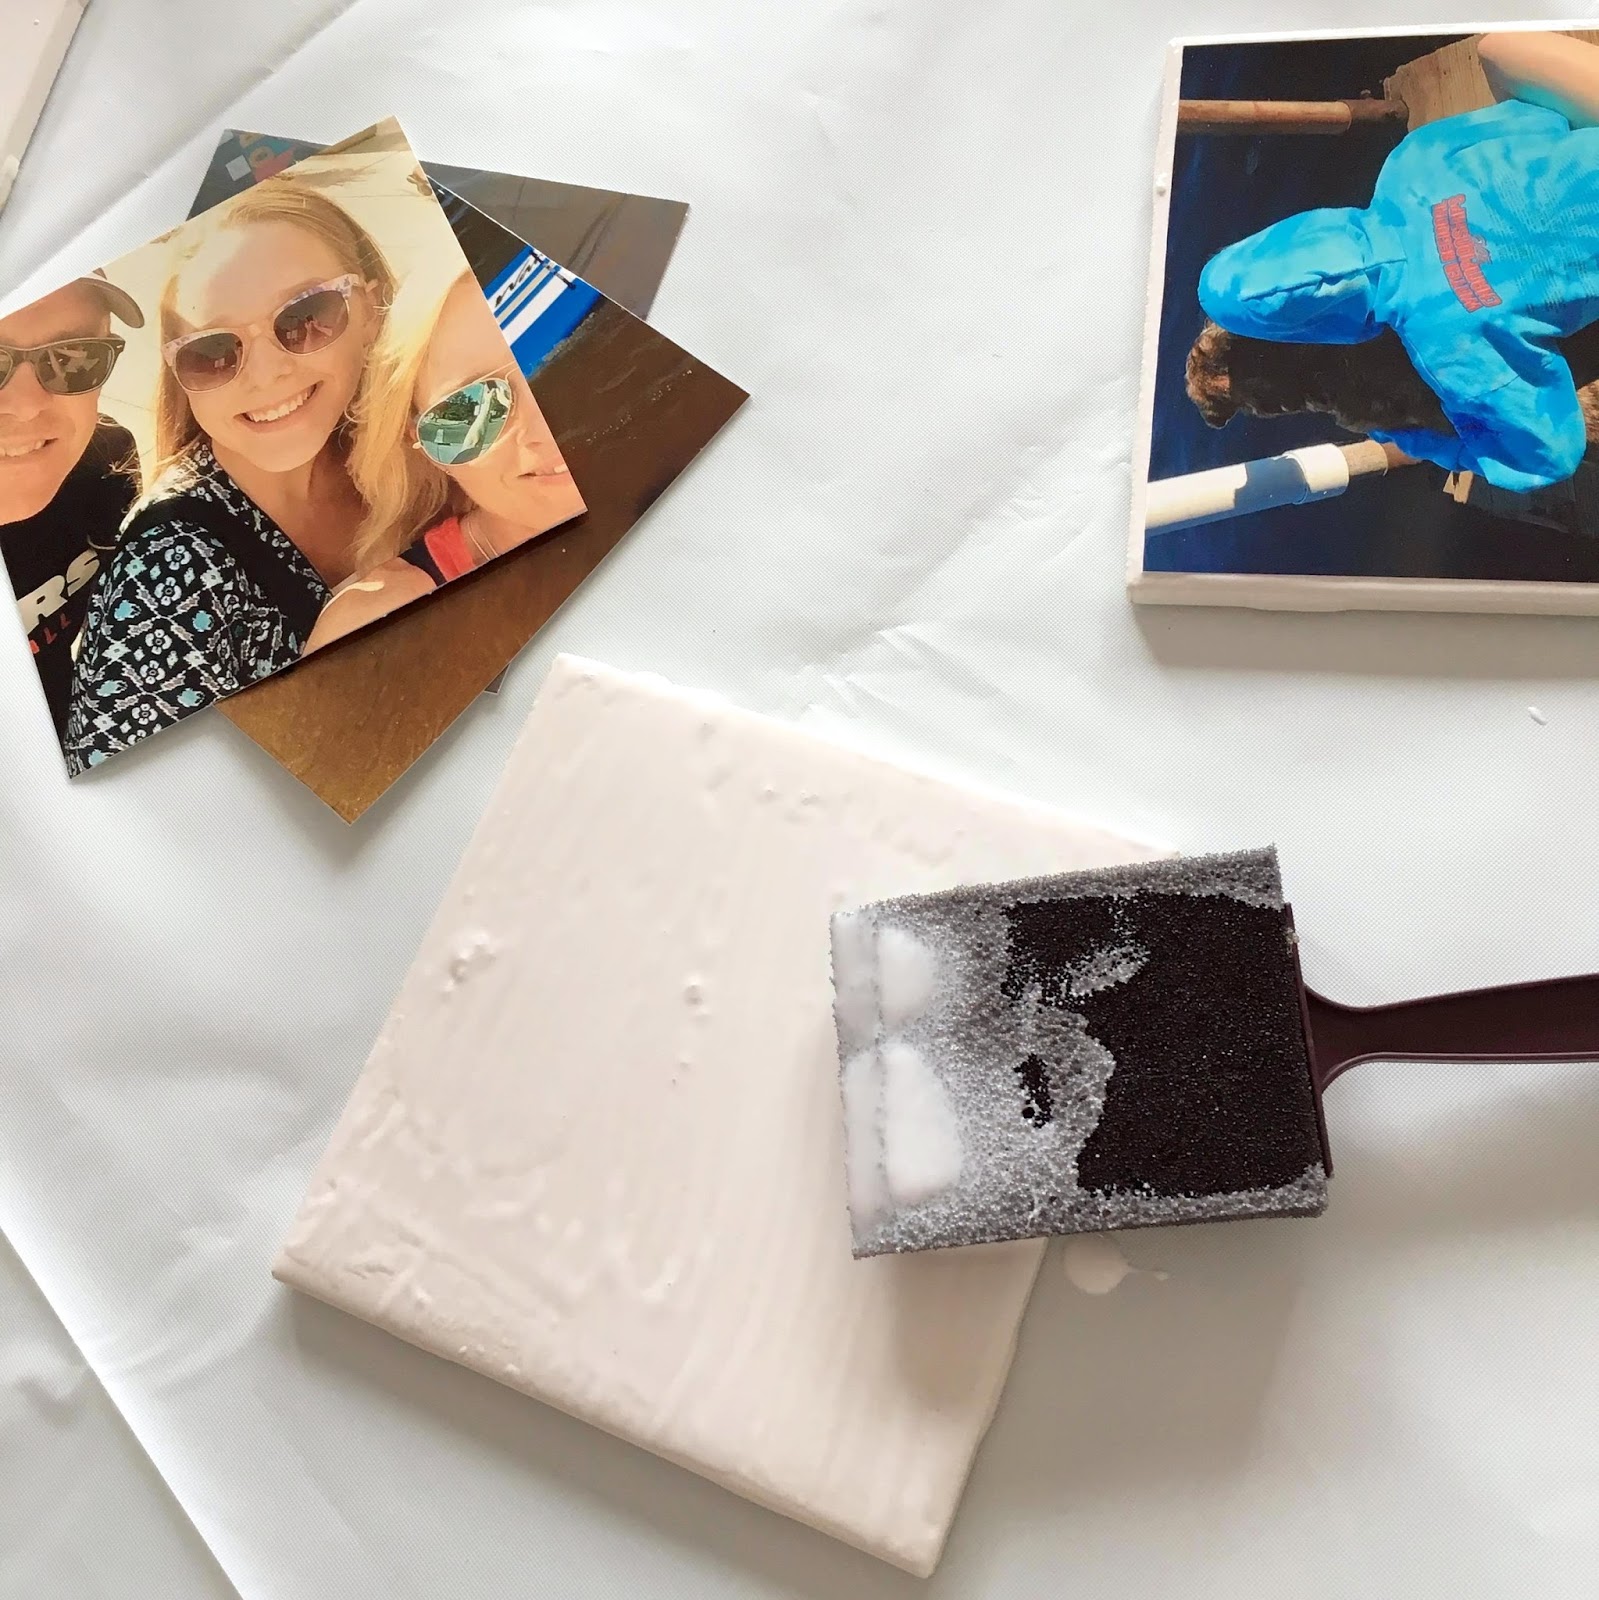
The first step to making tile photo coasters is evenly distributing a layer of Mod Podge on a tile with a foam brush. Then center and press your photo onto the tile. Allow to dry completely.

When the first step is dry, apply a layer of Mod Podge over the top of the photo using even strokes. Repeat two more times. Allow each coat to dry completely.
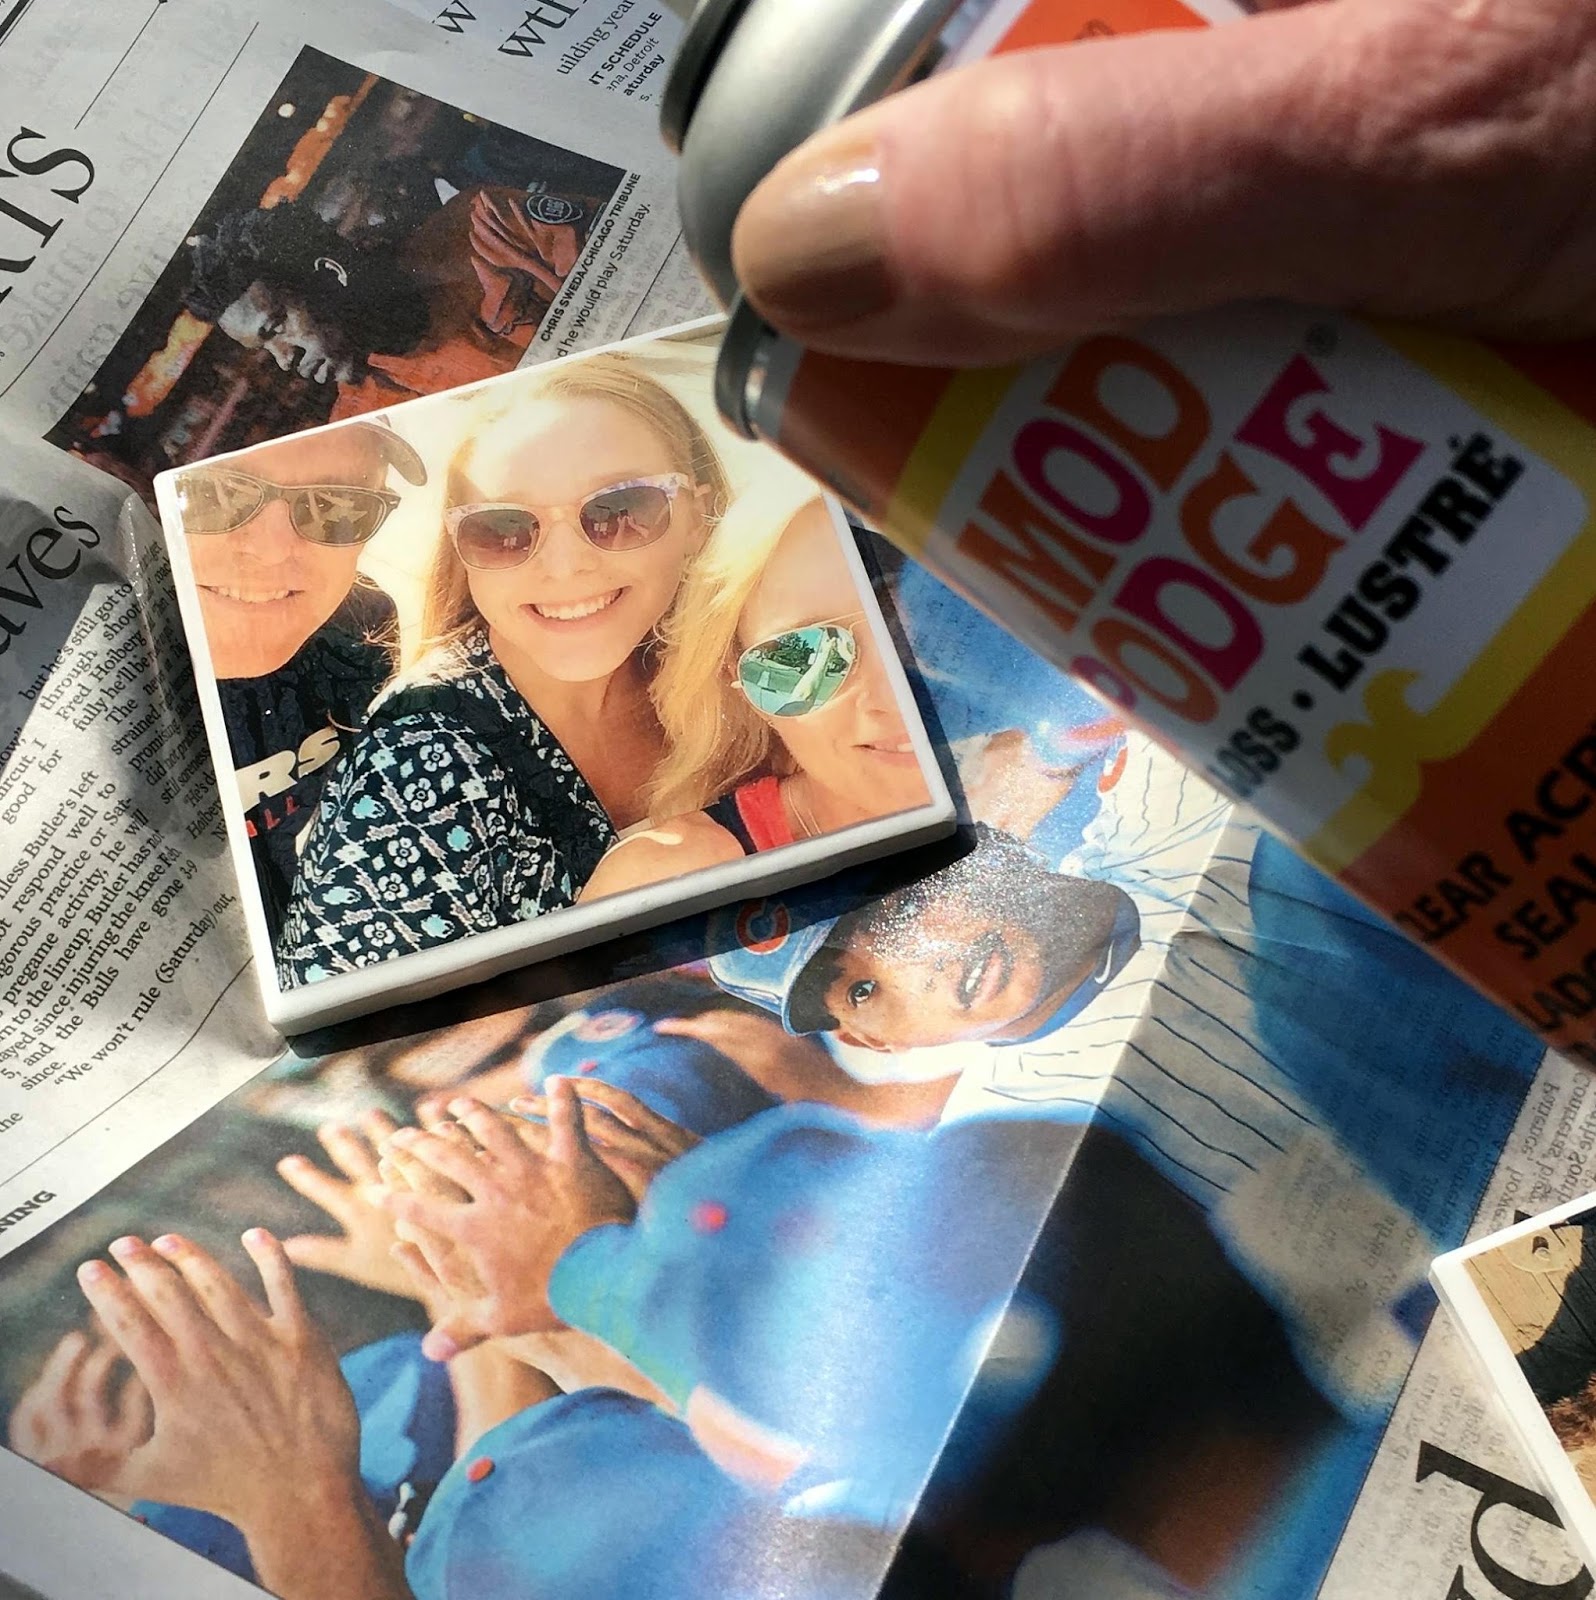
In a well-ventilated area, spray with the acrylic sealer. This step will seal the coaster and ensure it’s waterproof. Repeat four times, allowing to dry completely before applying the next coat.
Final Step
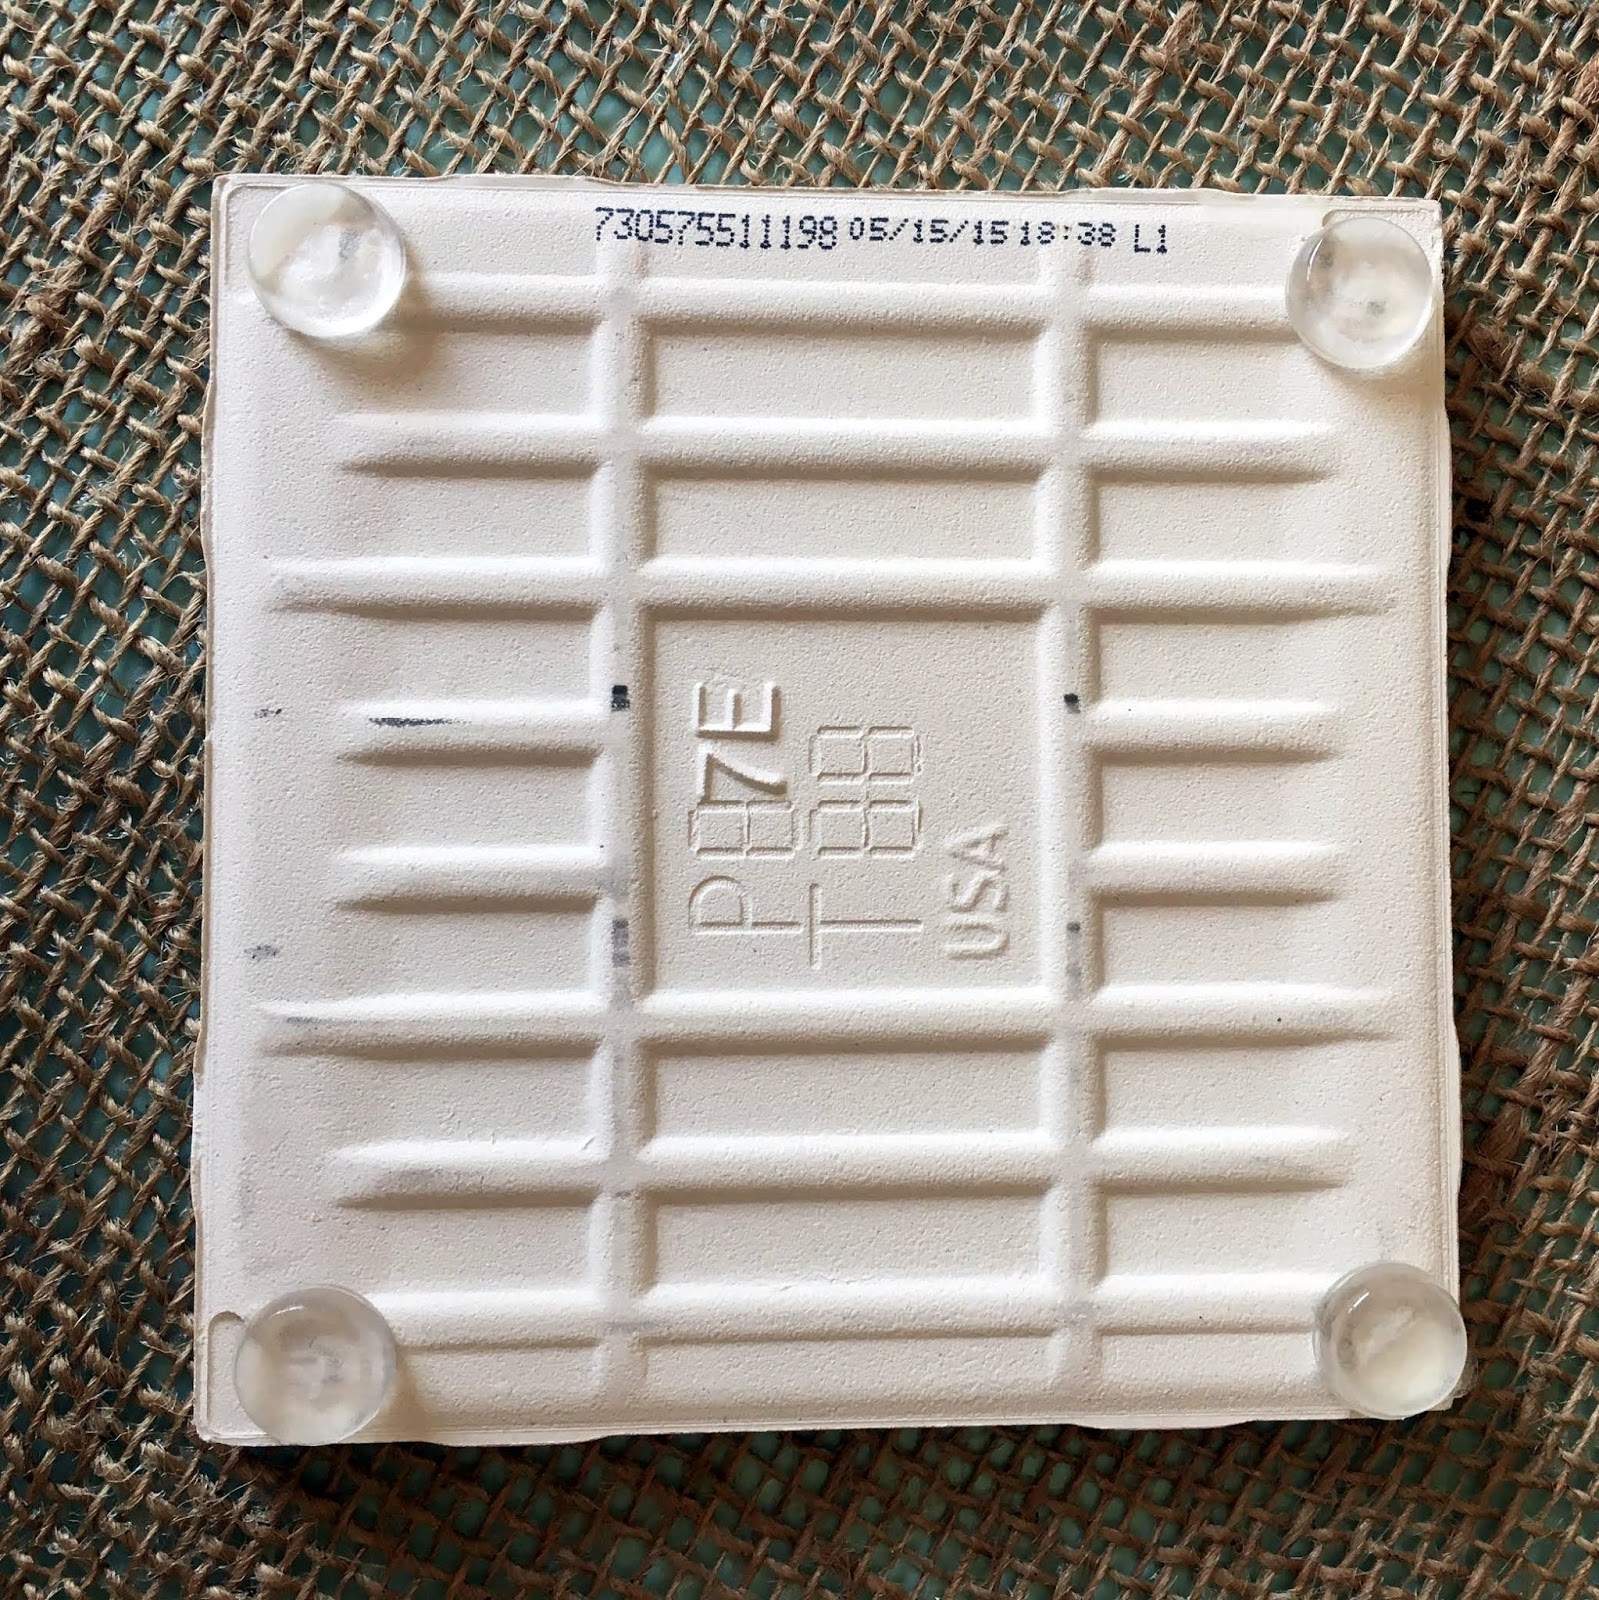
Adhere the felt or vinyl pads to each corner on the back of the coaster to protect surfaces.
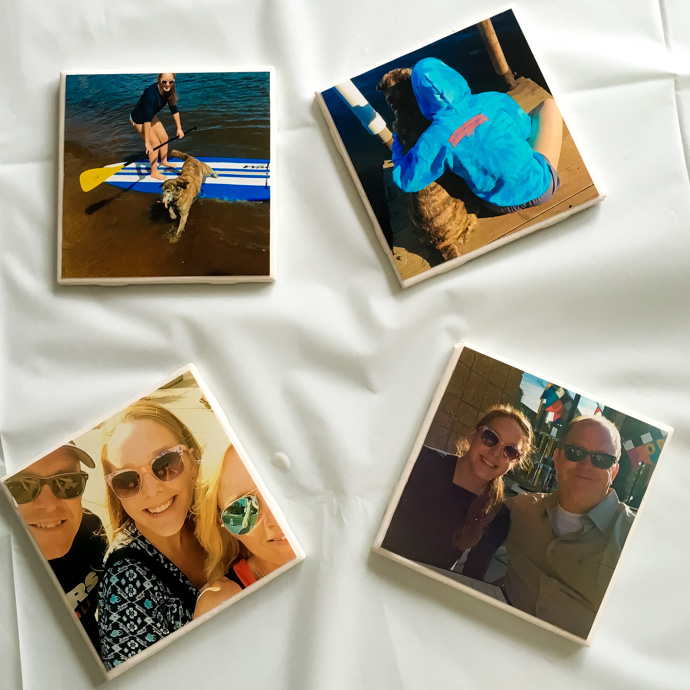
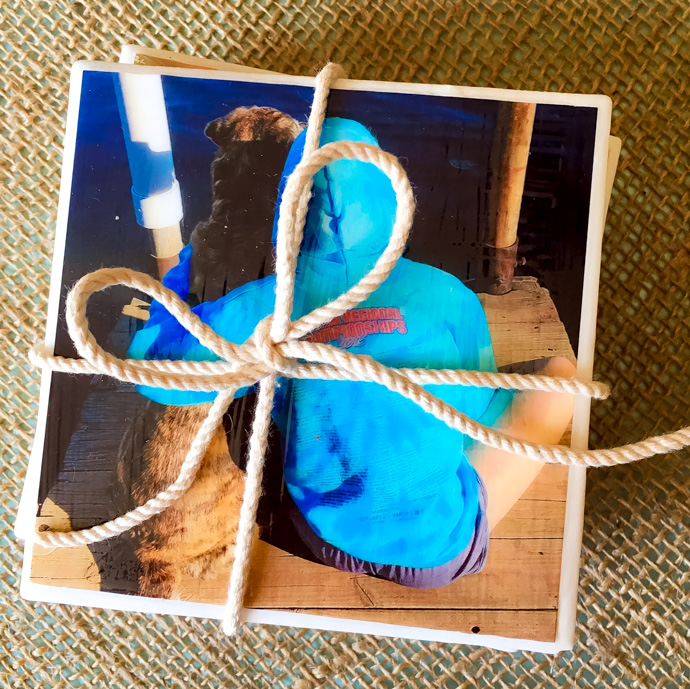
That’s it! They were fun to make, and I love that they have a vintage Polaroid vibe.
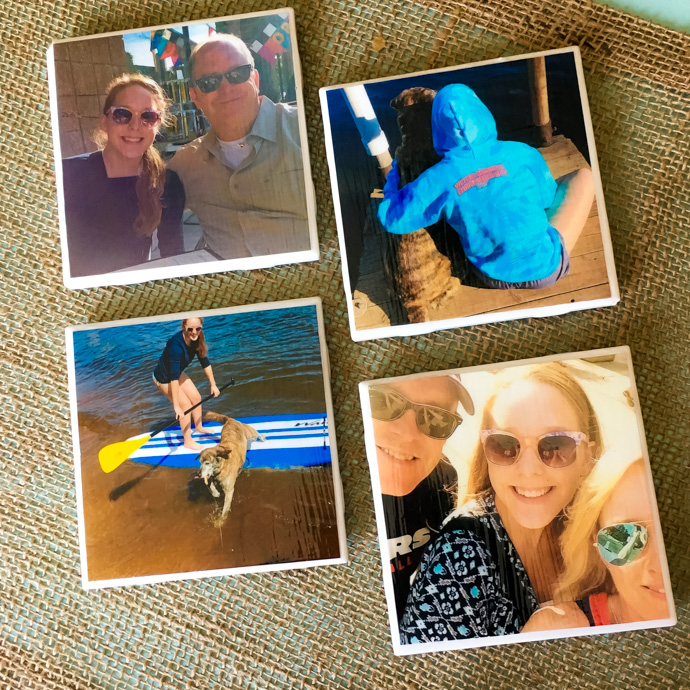
Tile photo coasters are a great way to share your special memories or make them to give as a cool photo gift!

Thank you for reading! I hope you liked my Tile Photo Coasters Tutorial! Let me know if you make some for yourself!
Also see: Make Someone’s Day with these Easy Random Acts of Kindness Ideas
and Welcome Your Guests with this Easy DIY Summer Lemon Hoop Wreath
If you liked this post, you can subscribe here or follow me on Feedly | Bloglovin | Instagram | Pinterest | Facebook
Linking up here.