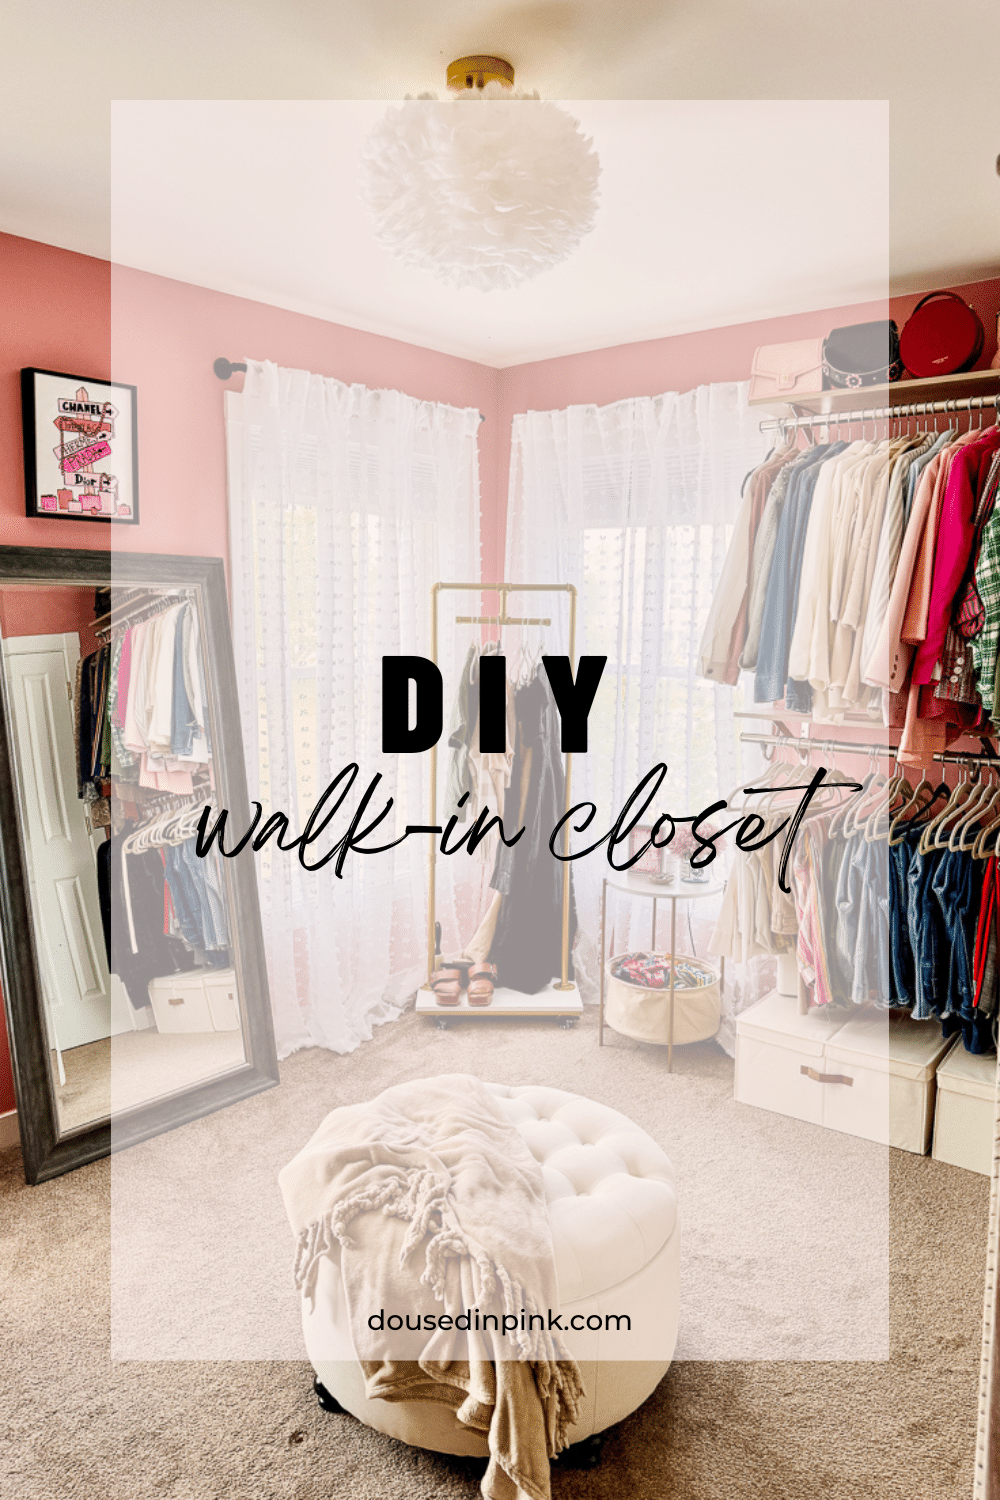
I’m excited to share todays post with you and how I turned a spare bedroom into a DIY walk-in closet! My husband and I have always shared a closet. And, in every home we’ve lived in together, I’ve never had enough space. I would swap out my clothing twice a year and divide my clothes between our closet, the guest room closet, and our home office closet. While it worked, I never knew what I had because I couldn’t see everything, and half the time, I could never find what I was looking for.
Fast forward to our new home that is not so new anymore (I can’t believe it’s coming up on 3 years this summer). The spare bedroom has been a dumping ground for literally everything, including the dog crate. So, when our daughter got her own place last fall, we both did a major purge that left me with a spare room begging for a makeover.
The closet of my dreams was to have all my clothes, shoes, and accessories neatly organized and easily accessible. And my New Year’s resolution was to make it happen. Here’s how I did it without breaking the bank.
How to Convert a Small Bedroom Into a Walk In Closet
Plan Out the Space
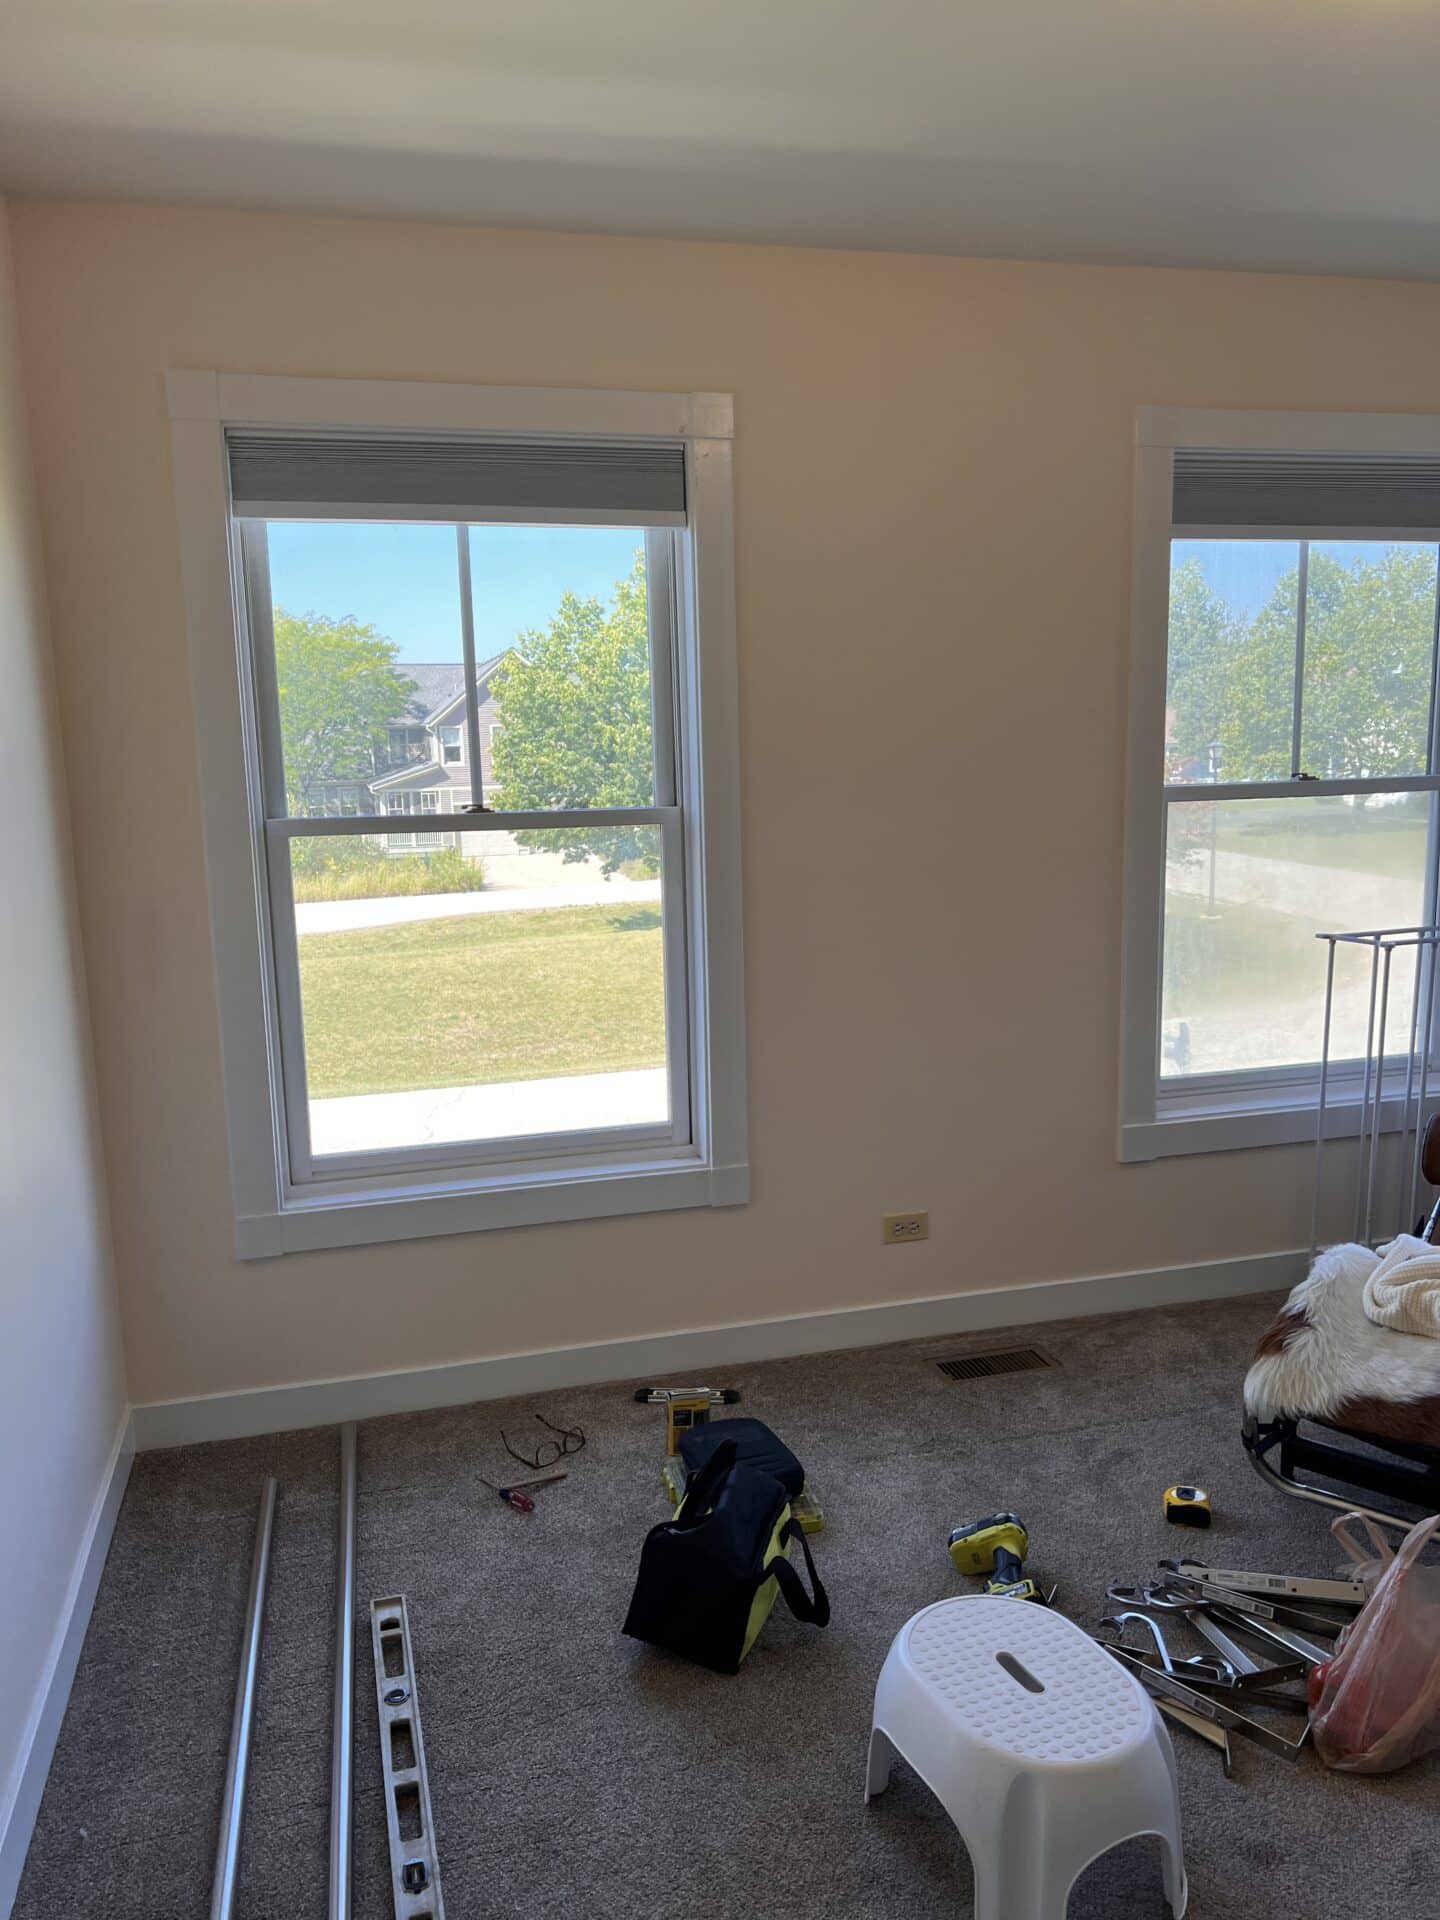
Before starting, I planned out my DIY walk-in closet, measured the room, and decided I wanted more hanging space versus shelving. The room had limited wall space, with one wall having two huge windows, another with one window, and then one wall with a regular closet and doorway to the hall.
I would have loved to have a vanity area and lots of extra shelving for shoes, but it wasn’t possible with the room’s layout. If you need help sketching out a layout, there are several online tools to help you visualize your space.
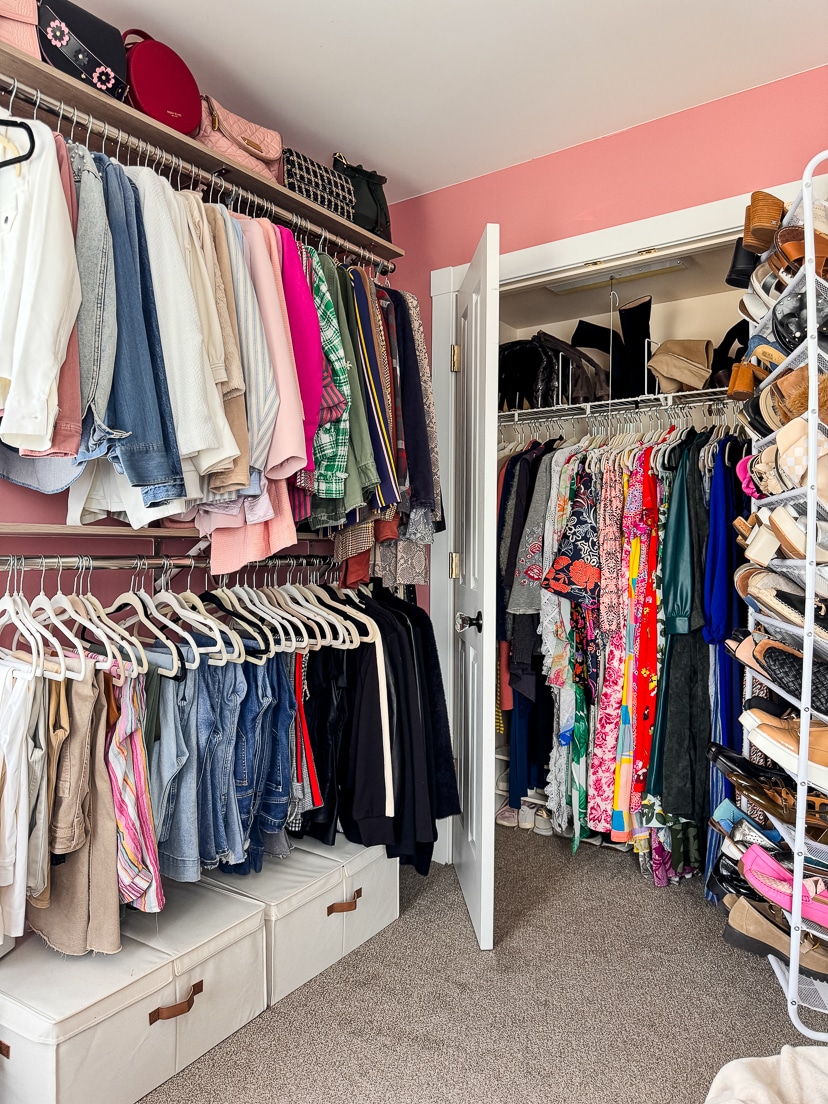
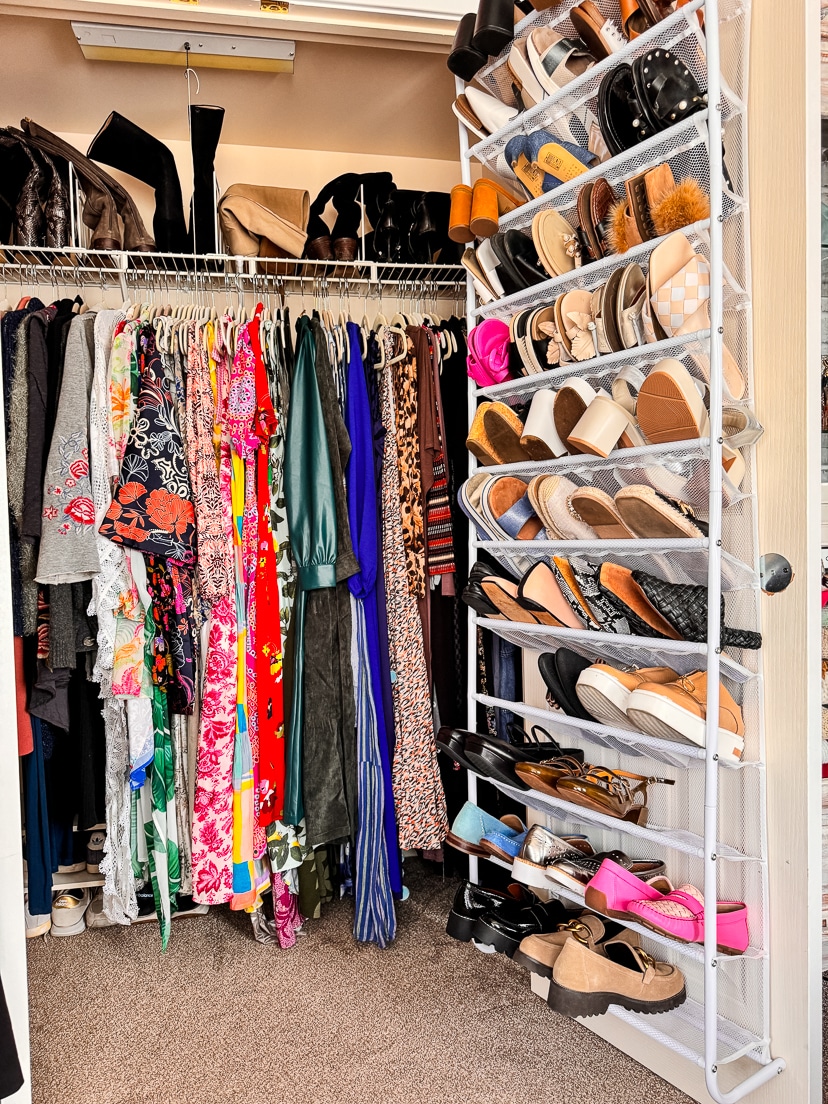
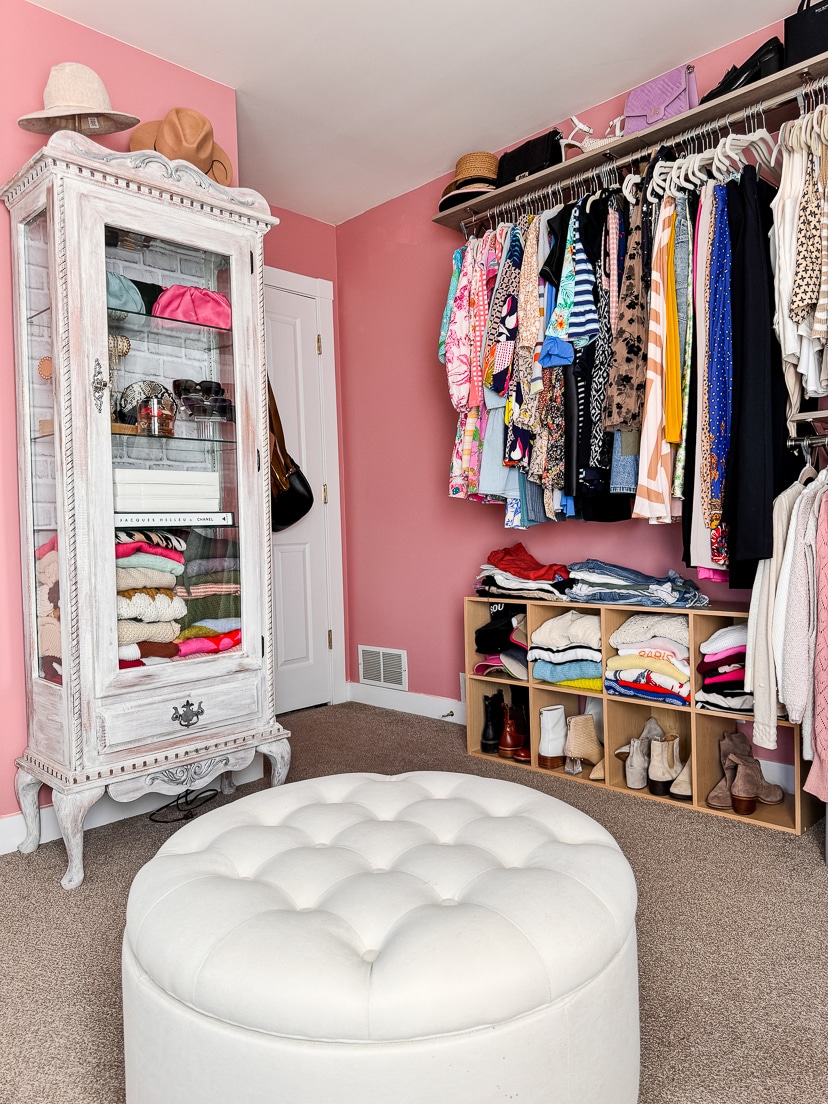
I considered removing the built-in closet but opted for keeping it as is. This is where I store my longer dresses, skirts, and jumpsuits. I installed an over the door shoe rack for the shoes I wear daily so I can always see what I have.
The room was instantly transformed from a peachy yellow to a gorgeous muted pink with grey undertones. The color is Rose Pottery from Behr. Cost of paint $60.
Tips for Turning a Spare Room into a Walk In Closet
Shop Smart
When it comes to shelving and storage, I immediately think of IKEA. They have affordable, stylish options that you can mix and match to fit your space. I looked at IKEA’s PAX system but ultimately decided to DIY it and got everything I needed at Home Depot.
DIY Closet Shelving
Rubbermaid Laminated Wood Shelves in Organic Ash
Everbuilt Nickel Heavy Duty Shelf Rod Brackets
Everbuilt Heavy Duty Closet Rod in Nickel
Everbuilt Nickel Bracket Screws
In order to get the shelving and closet rods into the size I needed, I purchased them in the 72″ length and then cut them down to the size needed. Tip: Clothes are heavier than you think. Make sure you use heavy duty drywall anchors. Total spent $442.
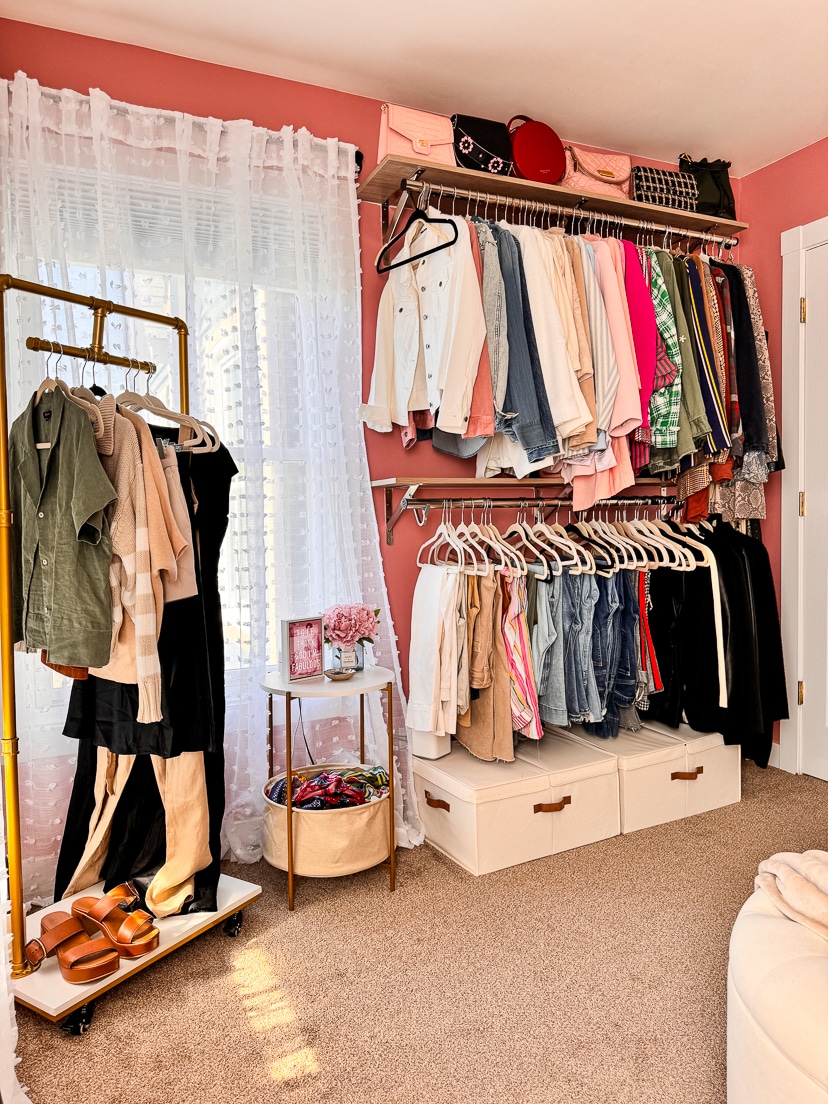
Maximize Vertical Space
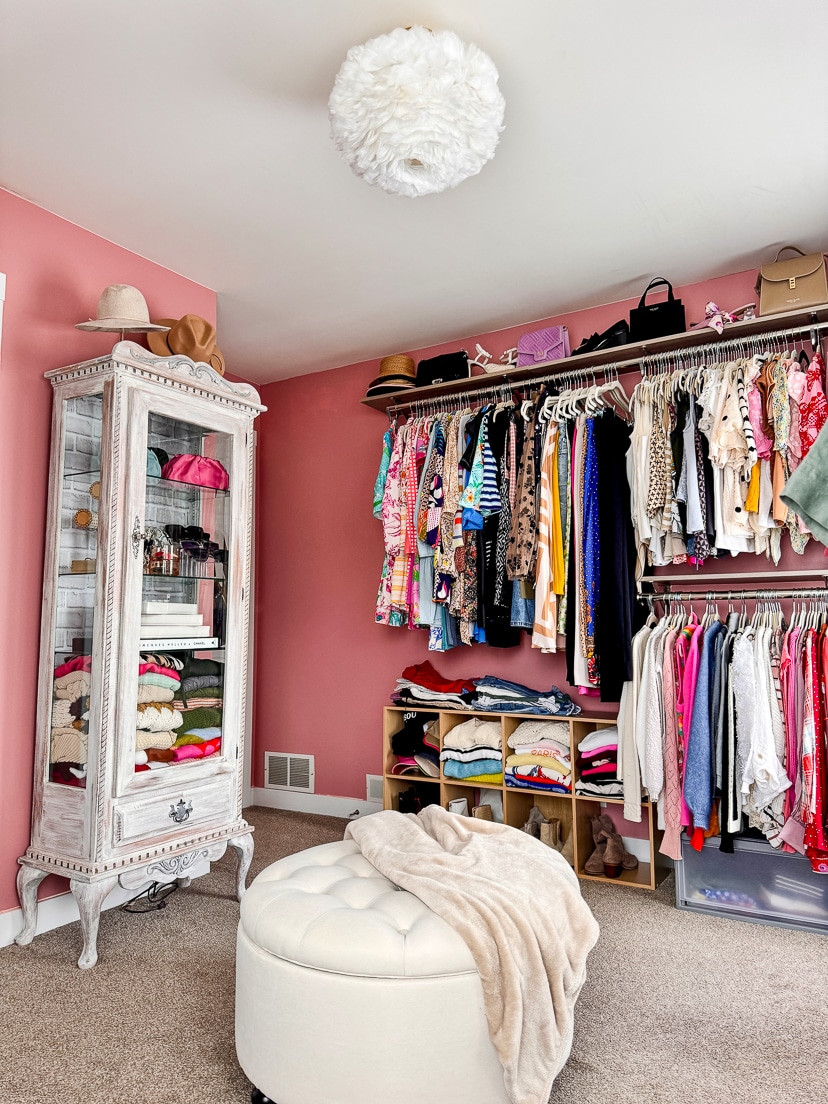
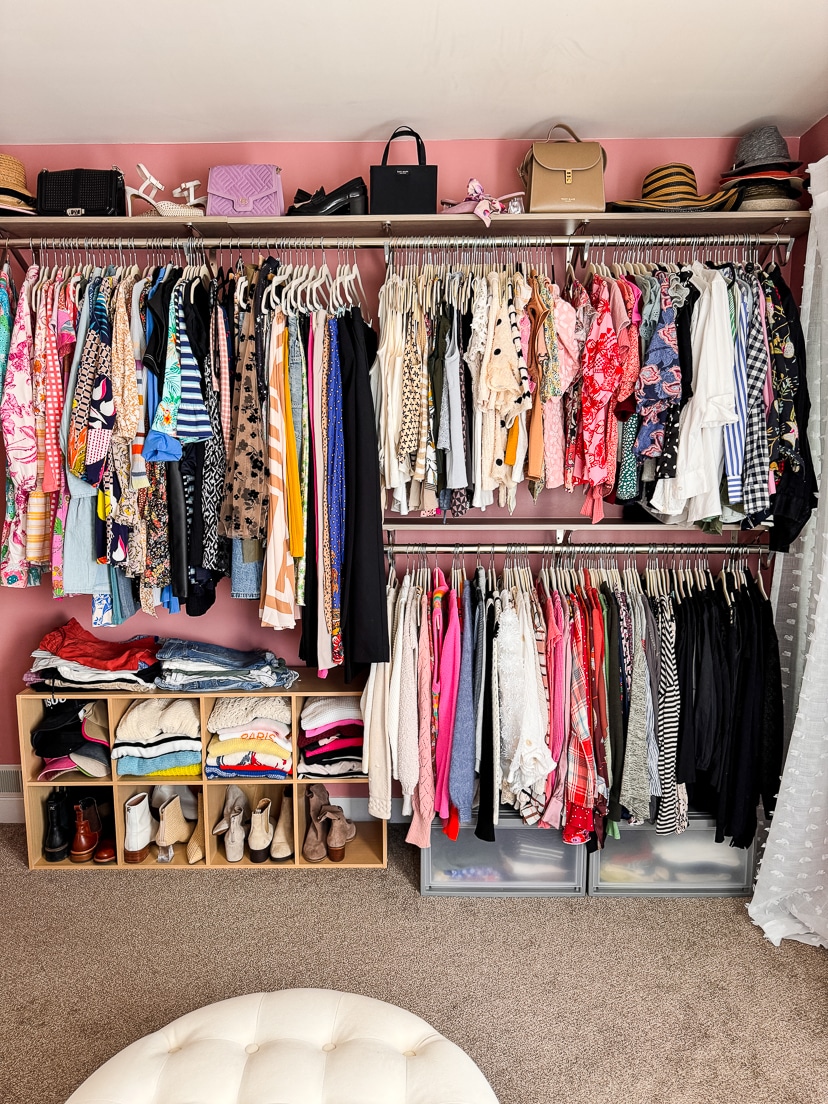
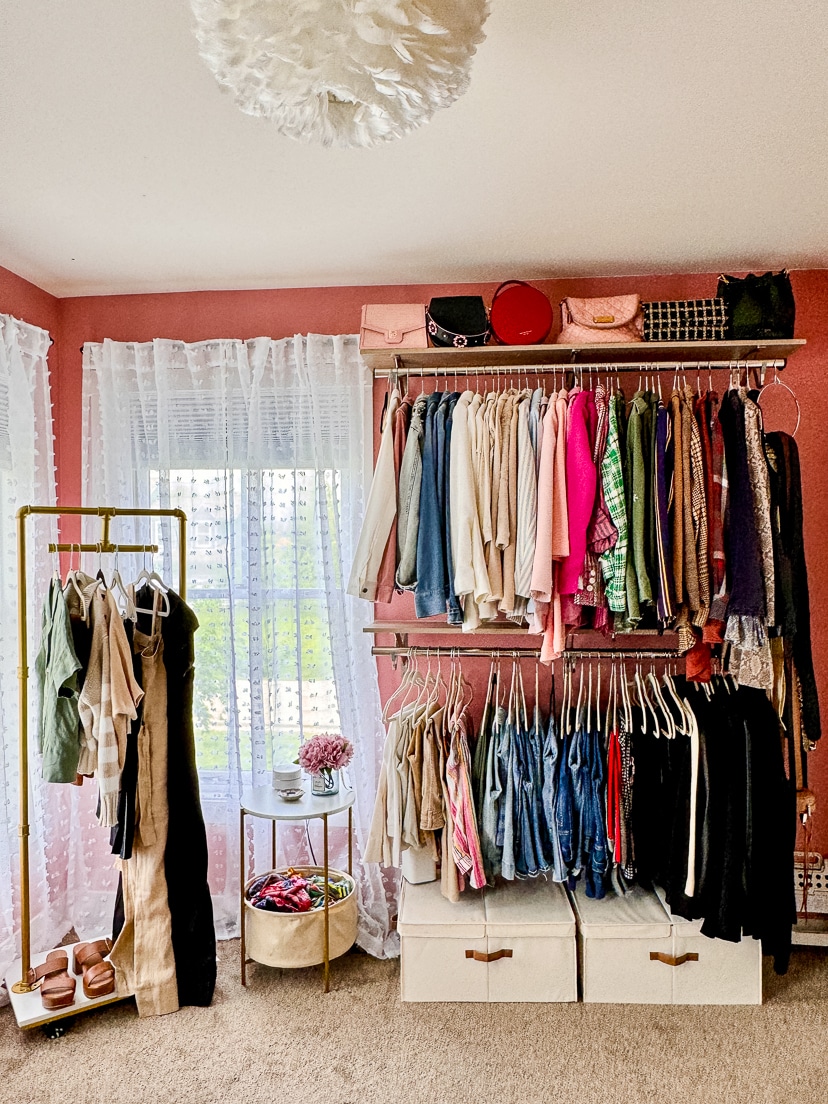
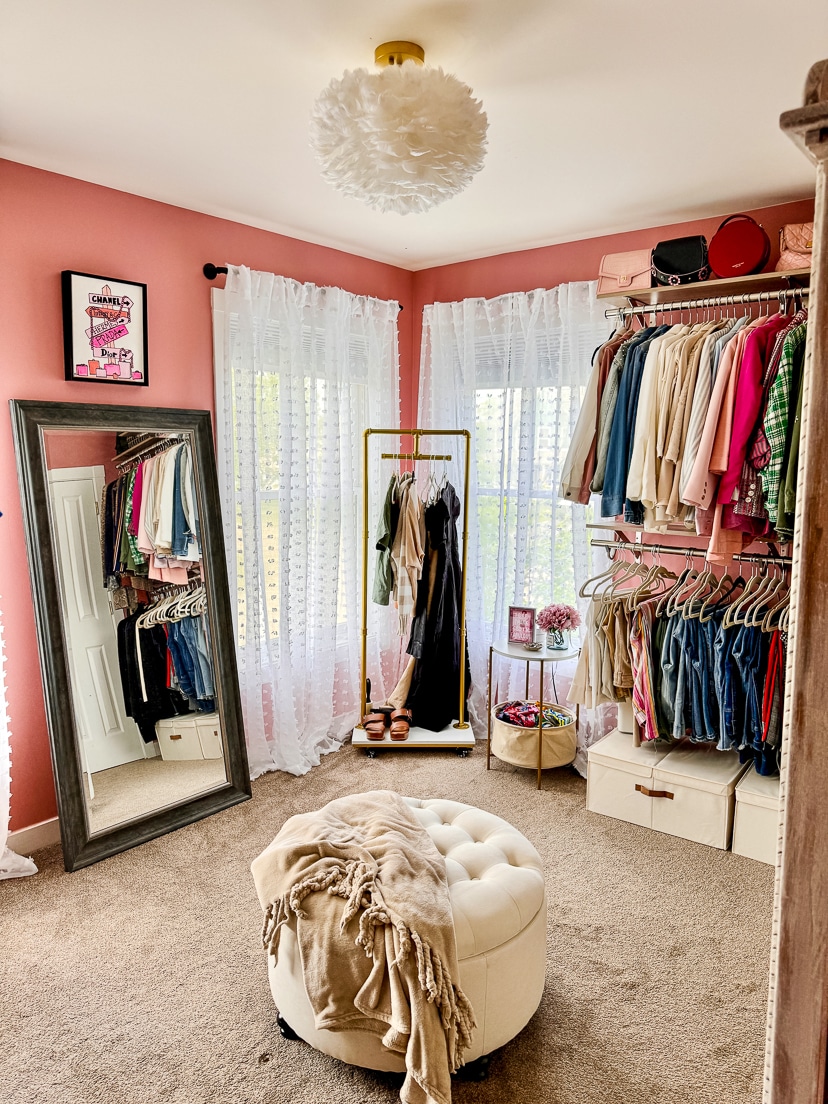
I used the full height of the room for my DIY walk in closet by installing racks with shelves up to the ceiling. Overhead storage is perfect for items you don’t use every day or for displaying handbags, hats and other items.
Get Creative with Storage Solutions
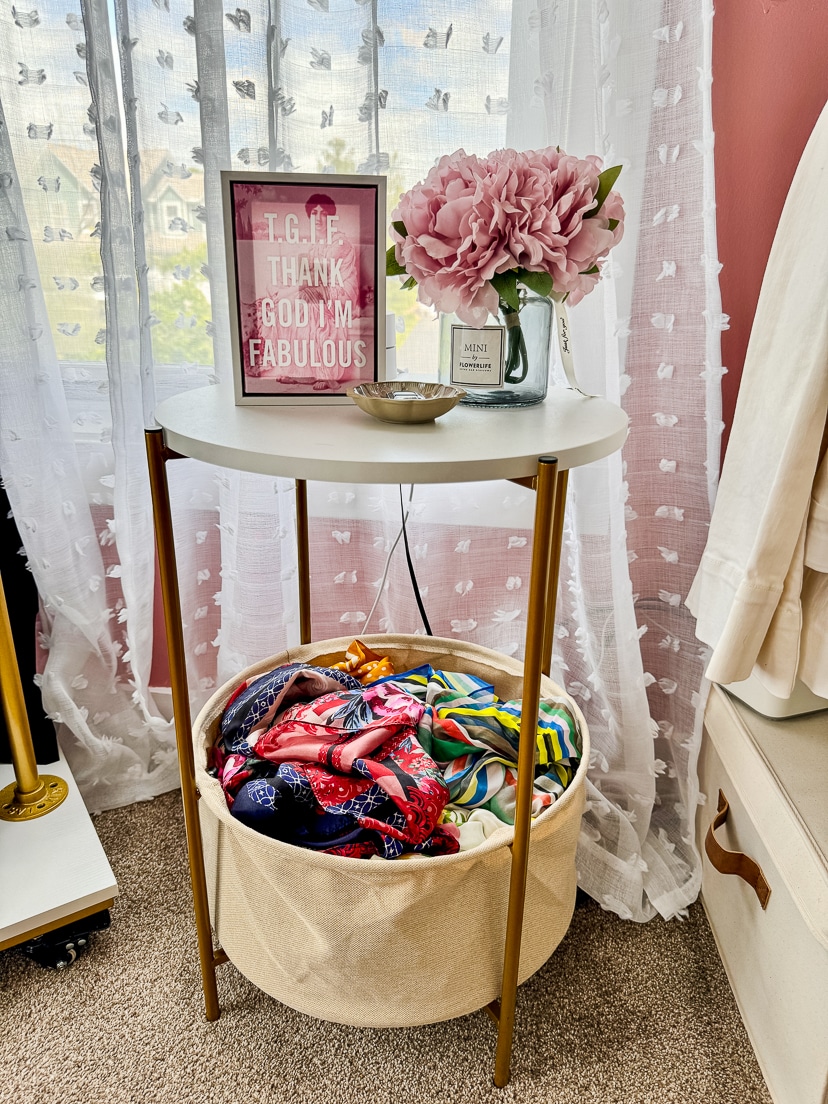
I purchased a few stackable storage drawers for my tee shirts and a side table with a basket to keep my scarves accessible. Canvas storage boxes are tucked under the bottom hanging racks to store my seasonal shoes. This garment rack makes outfit planning really easy.
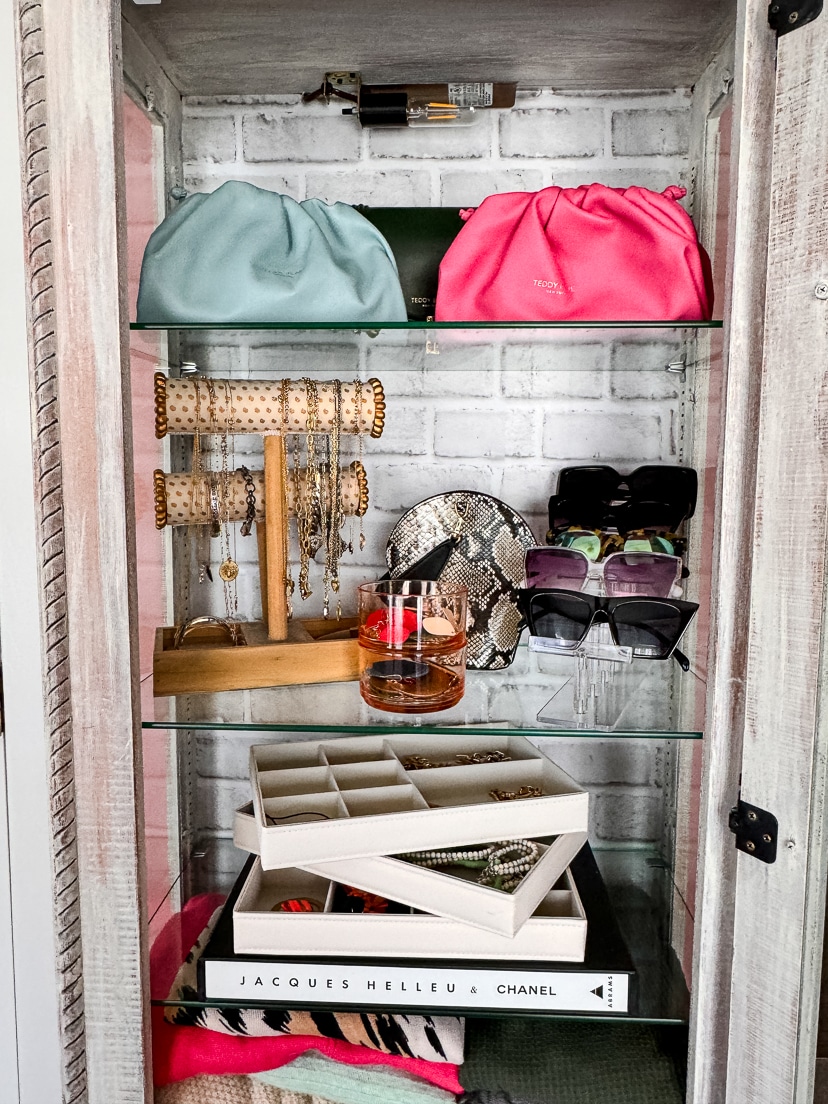
I found my vintage armoire at a reclaimed store, and it’s perfect for storing sweaters, everyday jewelry, and sunglasses. Hit up garage sales, flea markets, or Facebook Marketplace for budget-friendly finds. Sometimes, a fresh coat of paint or new knobs can transform a dated piece into a statement item.
DIY Spare Room to Walk In Closet
Don’t Forget the Details
A full-length mirror is a must-have for a DIY walk-in closet. You can find affordable mirrors at home goods or second-hand stores. I coveted this mirror for years, but it was not in my budget, so I stuck with the full-length mirror I purchased from TJ Maxx years ago. Ideally I was going to mount the mirror on the wall. But, there were no studs between my two front windows so it’s just going to have to lean.
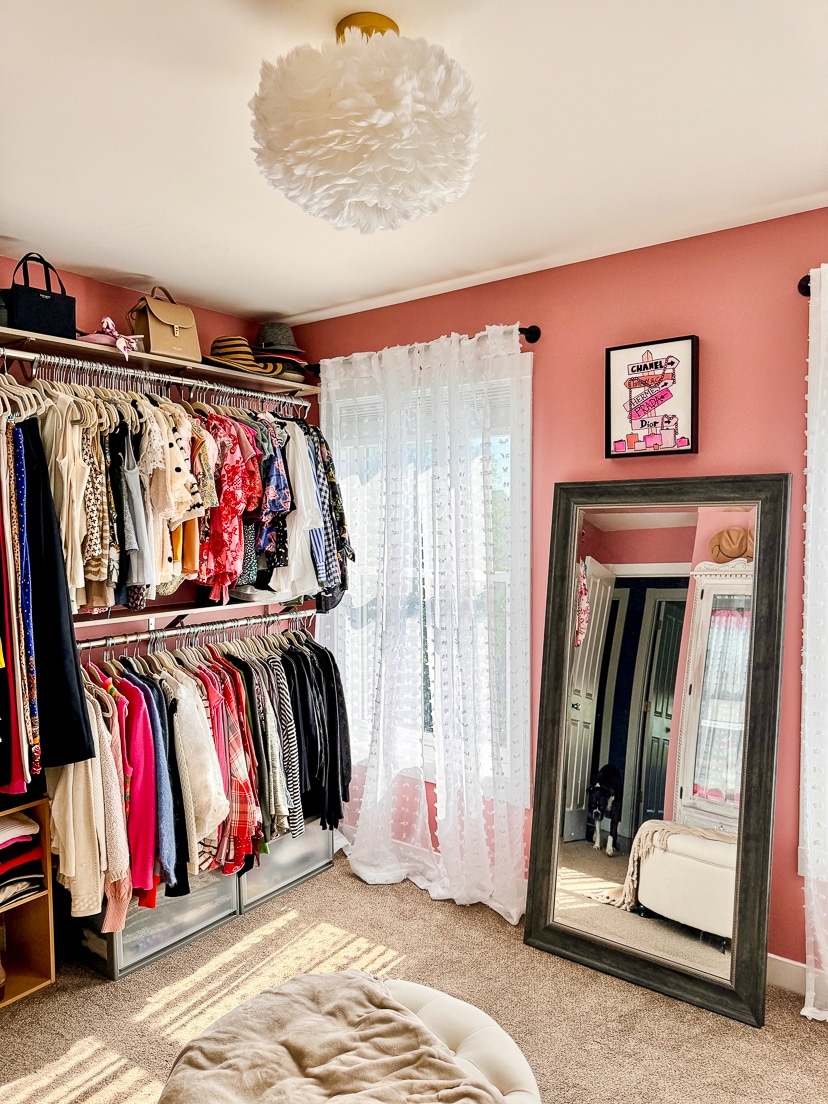
Good lighting is crucial in a walk in closet. Consider string lights or battery-operated LED lights if you have a small budget. They’re inexpensive and easy to install, adding a nice ambiance. I opted for a fun feather pendant light to add a touch of glam without a hefty price tag. Light fixture $110.
The Small Details
Velvet hangers are a great choice because they’re slim and prevent clothes from slipping. Add a few hooks for hats, belts, or jewelry. I bought these acrylic hat stands to display a few hats. And since I had the space, I added a round storage ottoman to add a cozy touch. My daughter hand drew and painted the designer label print above my mirror. Last but not least, to complete the space, I installed these curtain rods and these curtains. Ottoman $160, Curtains and Rods $130.
What do you think of my DIY walk in closet transformation? Let me know in the comments!
Shop Everything Here:

Share with a friend or pin and save for later!
Also see: How We Transformed Our Outdated Home to a Cozy Modern Farmhouse Style and Best DIY and Home Decor Projects
If you liked this post, you can subscribe here or follow me on Feedly | Bloglovin | Instagram | Pinterest | Facebook
Linking up with:
Away from the Blue | Fine Whatever Blog | Between Naps on the Porch | I do de Claire
Elegantly Dressed and Stylish | Walking in Memphis in High Heels & The Fashion Canvas
The Style Splash | Is This Mutton? | Curated by Jennifer
Mummabstylish | Shelbee On the Edge | Nancy’s Fashion Style
Momfessionals | Marsha in the Middle | Sunday Showcase
Thursday Fashion Files Linkup

Welcome to Thursday Fashion Files! Kellyann and I are excited to have you here. We’d love it if you linked up one of your latest outfits with us at the bottom of this post. Don’t forget to check out our Thursday Fashion Files Pinterest board. Email me at hello@dousedinpink.com if you’d like to contribute to the board!
Thursday Fashion Files Linkup Guidelines
1 – Follow Jill: Bloglovin’, Facebook, Instagram, Pinterest, Feedly, LIKEtoKNOW.it
2 – Follow Kellyann: Bloglovin’, Facebook, Instagram, Pinterest, LIKEtoKNOW.it
3 – Help spread the word and share our linkup with your community.
4 – **By adding links, you state that you have the proper licensing/rights to the images in your blog posts.**